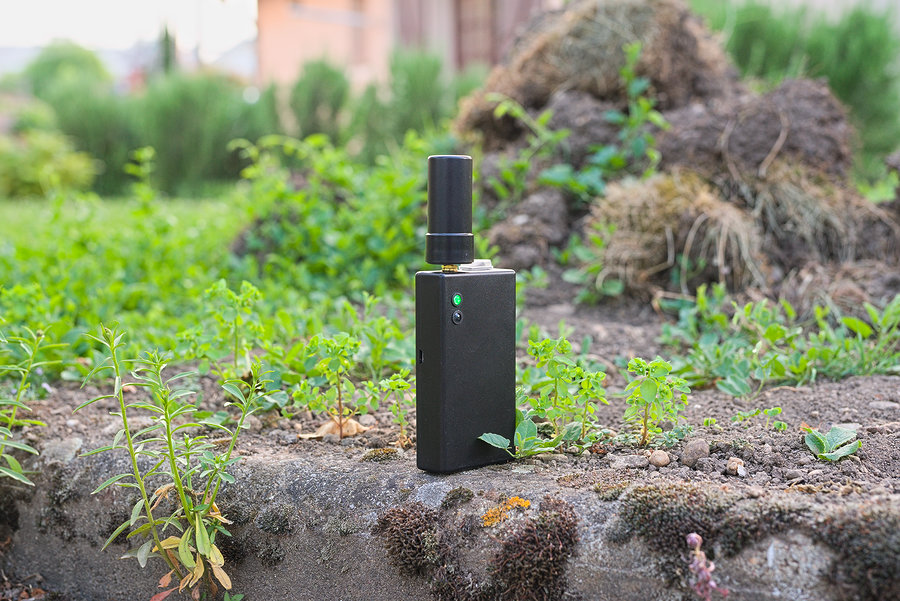
A cheap device to geolocate at the centimeter level.
Having discussed it with a surveyor, I knew that it was possible to geolocate with near-millimetric precision, but I didn’t think I’d be able to access it without a substantial investment (hardware and subscription), but I could see its usefulness for some of my activities (OSM contributions, precise land boundaries, archaeology, etc.).
A few weeks ago I saw the announcement of a seminar about the Centipède RTK network in the DessineTaVille mailing list (in french language) and I understand that RTK is not so inaccessible for a tight budget! So I will build my rover.
Rover assembly is well documented on the documentation website of the project, and I order the parts.
For the Drotek parts (receiver DP0601 and antenna 0925), surprise, the price given is without taxes, I am already over budget!
The battery and the Powerboost 1000 are not available in the store given so I order themn on Amazon, which means I have to rewire the JST connector of the battery, the polarities are reversed. Easy to do but mandatory.
I don’t have acces to a 3D printer and I want to put big LEDs to watch the state of the device so I order two plastic cases of diffrent shapes and sizes but with the same interior volume, some rocker switches and some LEDs with theirs caps.
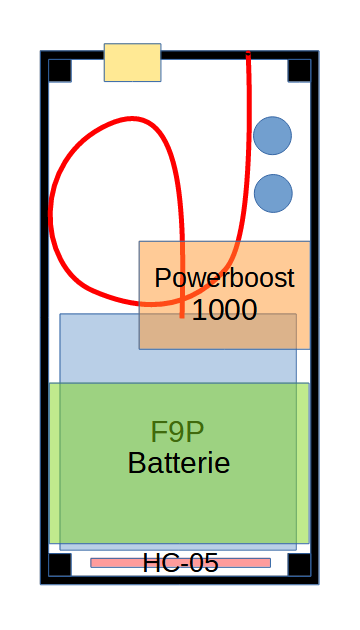
Parts layout in the case
The Powerboost 1000 has a particularity: to switch of the device you want to close the circuit. My switches have only two poles so I disassembled one to reverse the rocker, just to have to push the 0 to close the circuit and switch off the device, and push the 1 to open the circuit and switch on the device.
I choose to put the assembly in the flattiest case. The antenna will be less protected but it il easy to store in a trouser pocket. The antenna is offset to have the switch next to it, this provides protection against unintentional activation.
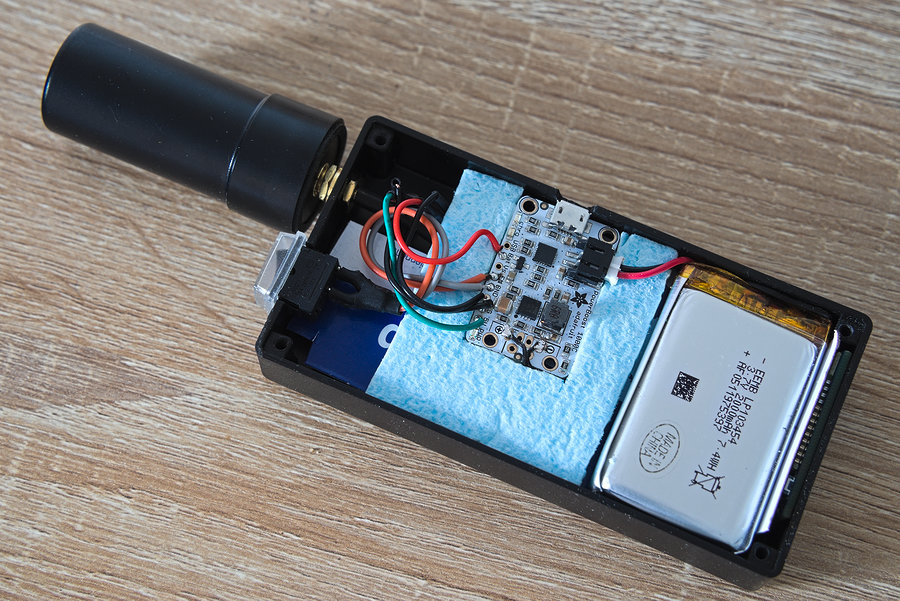
Pretty ugly but nothing is moving!
The holes and the notch for the Micro-USB charging port had been done with a mini drill . The parts are held tightly with foam and cardboard.
To enable it to fit on its edge, I unsoldered the Bluetooth HC-05 module’s pins.
I bought a SMA “extension cord” and a bunch of SMA connectors because the antenna is not aligned with the SMA connector of the Drotek receiver, and as I was not sure of my layout I got straight and angled adapters to change the antenna position relative to the case.

Some parts used for making the device
Beware, when charging, the Powerboost 1000 heats up dramatically! I didn’t read the Adafruit FAQ before I thought I was going to start a fire but this is documented that the chip may become so hot that it cannot be touched with a finger! I know that the charge cable is properly connected because the case becomes warm over the Powerboost’s place O_o
Big disappointment: I thought I could plug a LED to the [TIM] pads of the Drotek DP0601 to see if there is a GNSS fix but this doesn’t work :-( I also thought I could plug easily some LEDs to the Powerboost to see if the battery is in charge or charged, but to do so it means to do CMS soldering, out of my possibilities, maybe later!
In the end I have only two LEDs: one to indicate that the device is powered, and the other that the battery is nearly empty.
To setup the Bluetooth module I already had a FTDI adapter so no need to make a thing based of an Arduino. It’s important to use a 3.3v RS232 adapter!
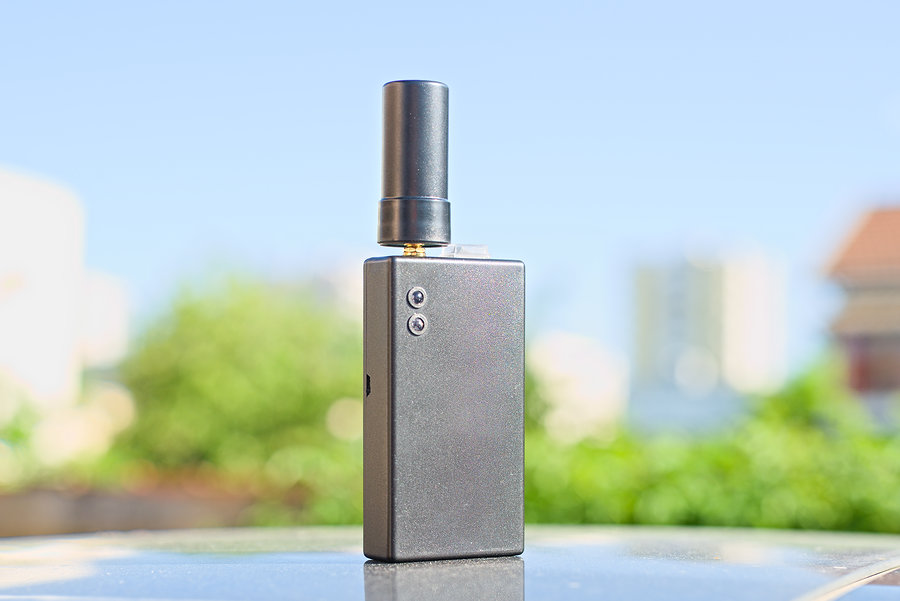
RTKbrique
With a sample rate of 200 ms, it can even be used for OpenStreetMap mapping during your morning jog!